Some might believe that magic pen embroidery can substitute machine or hand embroidery. But there are differences. For instance, hand embroidery utilizes traditional needles to produce flat, even stitches. Magic embroidery pen needs a hollow needle to make those unique loop stitches. But let’s learn more about this nifty little tool.
Are you interested in a particular question related to embroidery pens? Then use the table of contents below to jump to the most relevant section.
And you can always go back by clicking on the black arrow in the right bottom corner of the page. Also, please note that some of the links in this article may be affiliate links. For more details, check the Disclosure section at the bottom of the page.
What is the magic embroidery pen?
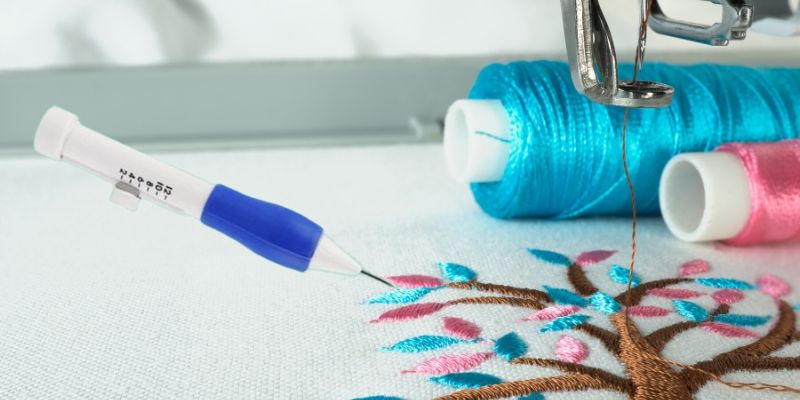
Embroidery pen, also known as punch needle, can be confused with a thick pen ending with a hollow needle. Magic pens often come as a set, with a variety of tools, to make sure you have everything you need to get started with practically any embroidery project.
With punch needle stitching, your project can have more texture, sort of like 3-D Embroidery. Mixing yarns of different density makes it easy to create unusual and elegant, textured designs.

How hard is it to use the magic embroidery pen?
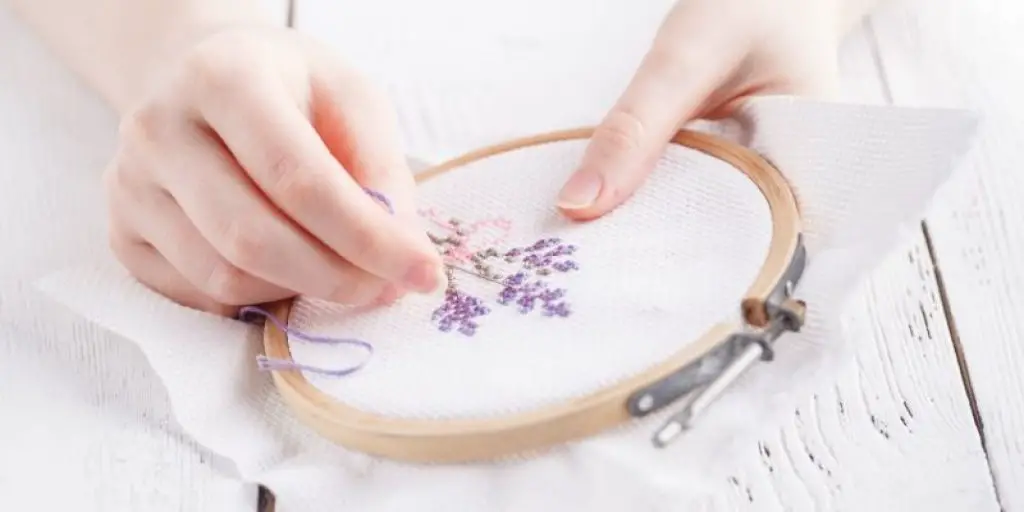
If you have any experience with embroidery but haven’t tried needle punch yet, you’ll appreciate an opportunity to diversify your craft designs. It’s similar to rug hooking. And magic pen embroidery is almost as fiddly as doing embroidery by hand or using the machine. But there’s something soothing, almost meditative, about it. So you might like it the most.
Make sure that you’ve read all the instructions coming with your magic pen. Especially if you are a beginner. A rule of thumb – start with tightly-woven textiles like linen or cotton. Those are much easier to practice with.
Best embroidery pen kit: Affordable version

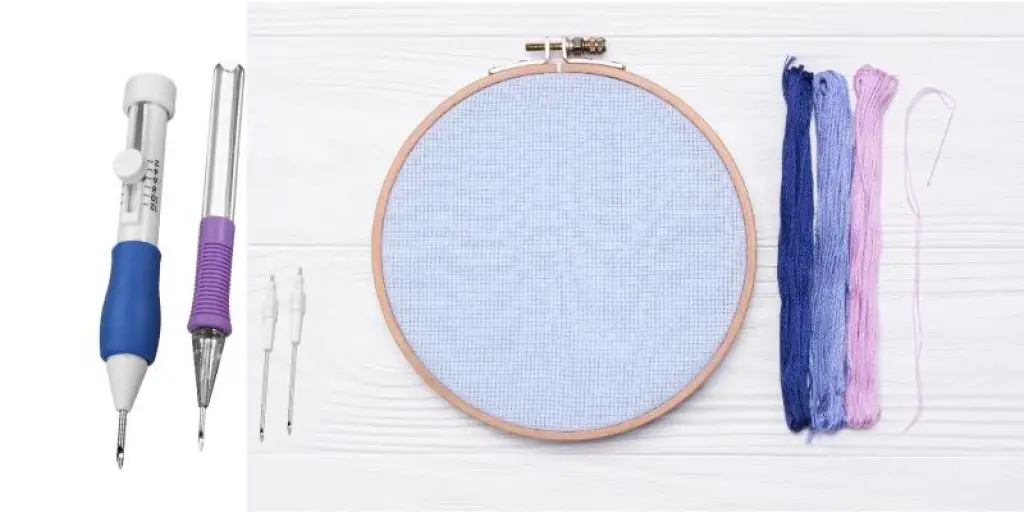
set comes with an array of different tools and every color you can think of in embroidery flosses (50 random colors, 26 feet in each piece). It also includes instructions on how to punch needle along with 12 by 12-inch embroidery cotton fabric, a marker pen, and a yarn scissor. All those will be helpful to get you started, so you don’t need to wonder if you forgot that tiny accessory that might delay the creative process. This set also comes with an awesome little bag to keep everything together.
It’s great to have anyways as all the tools and threads are really top quality, especially considering the price. Pretty good beginners set if you are looking for an easy way to get started.
Embroidery pen kit: best value

You will be pleased with a wonderful assortment of threads (100 color pieces!), needles, several cute patterns (butterflies and roses) threader, and a variety of useful embroidery tools. The 5 bamboo hops of various dimensions 4.7inch (12cm), 5.9 inch (15cm), 7.3 inch (18.5cm), 8.5 inch (21.5cm), 9.7 inch (24.5cm) might end up being the highlight of this product.
embroidery pen set will do all you need to complete any project, stitching as quickly as if you were drawing a picture. It comes with everything you need to learn and get started.
Magic embroidery pen patterns
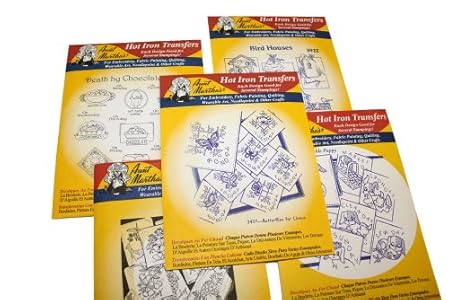
set of 5 Aunt Martha’s iron patterns features 5 various themes: chocolate, birdhouses, puppies, fruits, and butterflies. Each contains 7 different designs. So it’s 35 unique ideas for your craft in total. And, as some sewers admitted, you can get an additional use of each pattern! Such a bargain!

There are 9 cute magic embroidery pen patterns with kitchen sayings designs in set. And each one good for more than 1 stamping. It irons on quickly, and you can simply wash the design off with the cold water once you’ve done work. The set also comes with all the guidelines along with stitches and color suggestions. If you enjoy embroidery, you’ll have lots of fun with these patterns.
How to use a magic embroidery pen?
Once the embroidery pen was threaded, take it as you would hold your ordinary pen. It is then placed perpendicular to the material with the sharp end facing it.
When you punch it into the fabric, ensure the depth mark touches its surface. Then, pull out the needle slowly through that hole.
To make a loop, slightly push the pen further from you, and perform the same actions repeatedly. Keep going until your pattern is completed. You can get more idea about how it works by watching this embroidery pen video.
How to thread the magic embroidery pen?
Threading the pen is straightforward. Just insert the threader from the tip of the needle until it moves through and comes out at the back. Put the thread into the threader’s loop and pull it out. Then insert the threader through the eye of the needle and pull it out from the back.
Here’s a quick video tutorial if it still seems tricky:
How to do a chain stitch with the magic embroidery pen?
There are many kinds of stitches you can use with an embroidery pen, but chain stitch is seemingly the simplest and the most common to get started with. Once you get a grip on it, you can explore other variations on it.
In a nutshell, it’s a looped stitch that can be used along both curved or straight lines. Here’s a great video tutorial on how you might want to approach it. In the video, they demonstrate the process with the tambour hook. But it works pretty much the same for magic embroidery pen.
Credits: photos by Canva
Disclosure: at sewingyourstyle.com we only write about the products that we’ve researched and considered worthy. But it’s important to mention that we are a participant of several affiliate programs, including Amazon Services LLC Associates Program, an affiliate advertising program designed to provide a mean for us to earn fees by linking to Amazon.com and affiliated sites. As an Amazon Associate sewingyourstyle.com earns from qualifying purchases.