Embroidery is a beautiful craft that enables you to bring an everyday piece of clothing or interior to the whole new level. But whether you are doing the work yourself or received an embroidered item as a gift, there always might be a mistake, or you just won’t be enjoying the look of it. So are you stuck with an ugly piece, or can it be fixed?
This guide will help you to look for all possible solutions to any “embroidery went wrong” problems.
Are you interested in a particular topic about embroidery removal? Then use the table of contents below to jump to the most relevant section.
And you can always go back by clicking on the black arrow in the right bottom corner of the page. Also, please note that some of the links in this article may be affiliate links. For more details, check the Disclosure section at the bottom of the page.
Why remove embroidery?
You might find that you made an error while trying to embroider your favorite shirt. So you have to start all over again and remove whatever you’ve had created so far. In some cases, you might want to get rid of the logo on the purse someone gave to you and replace it with a new design. Maybe it’s not in the right spot, or you don’t fancy it’s color. Or perhaps the machine settings were off, when you were working on an embroidered piece, so you end up with a horrifying birdnest that has to be fixed.
These are just a few reasons for what can go wrong with embroidery and why you ever want to remove it. Your next problem is how to remove it without damaging the garment.

Tools you might need to remove embroidery

Before you proceed, prepare the tools you might need. Depending on the methods or embroidery removal, you will want different tools. But a bare minimum are tweezers, a , , duct tape, and a .
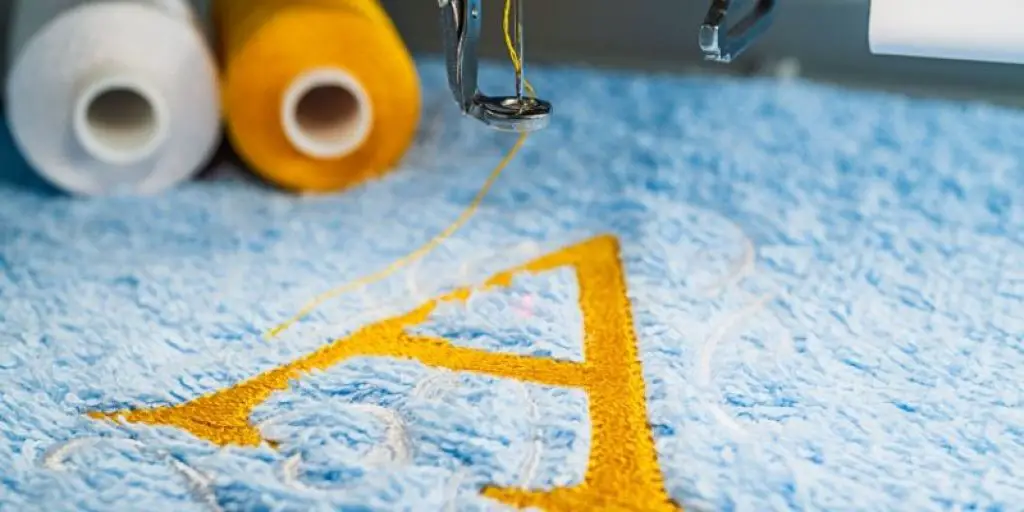
Of course, you might go for more advanced (and more expensive) options utilizing tools like. It works great if you have to remove the machine embroidery. But if you are dealing with hand designs, you might want to stick with the seam ripper. As this process is more intricate and delicate.
How to get rid of stitch marks after you’ve removed embroidery?
No matter how careful you are, once you’ve removed embroidery stitches, you might find small holes behind. But don’t worry. You can deal with it too in three easy steps.
Step 1. Iron the front of your piece.
Step 2. Gently scrape the stitch marks with your fingernails. Go back and forth a few times, do it horizontally first. Then repeat the movements vertically. You can do the same trick using the spoon.
Step 3. Iron the material once again, and you good to go.
Repeat all the steps if holes are still visible.
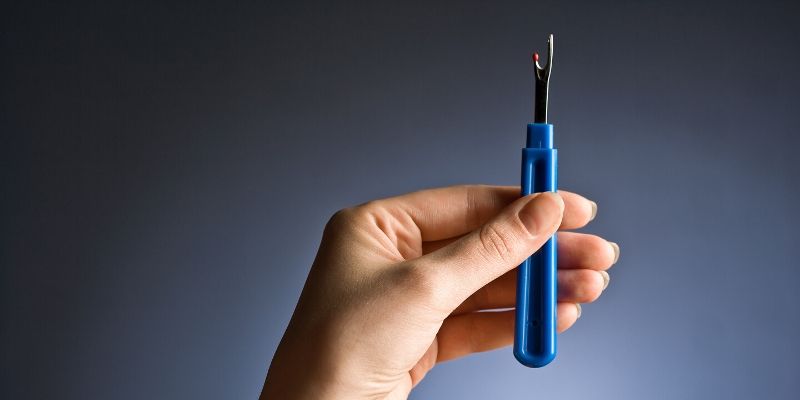
The easiest way to remove embroidery
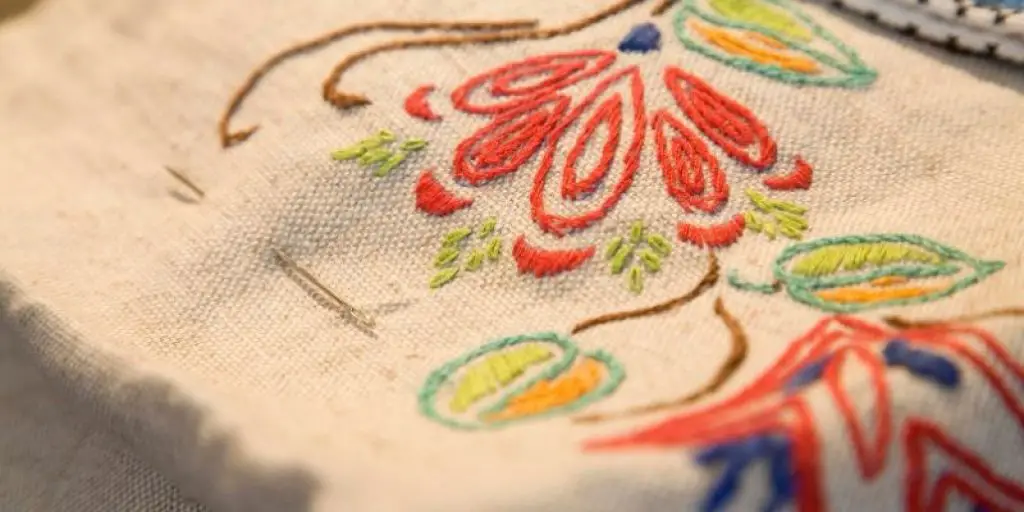
Using a is not the fastest but probably the easiest way to remove embroidery. Just slip it under the thread, push it, and the ripper will do all the cutting. If the sewing is not too tight, you can cut every third stitch and then pull out the thread.
Well, you’ve got the idea, right?
Let’s discuss the process in detail too.
Step one is to turn your piece inside-out to avoid damage. It will help if you can place the fabric into the embroidery hoop.
And then just start the cutting in a way I’ve described in the previous paragraph. You can also utilize small scissors, too, but it’s a slower way to deal with the problem.
Work one layer at the time and remove the stitches very slowly. If you feel any resistance – slow down even more. Go back to another side of the fabric and see what caused the interference.
Once you have eliminated all of the stitches, pick up the left-behind threads with a lint brush or duct tape. The tape won’t work on extra fluffy fabrics like vervet, though.
Check out the video instructions too.
How to remove embroidery with a razor?
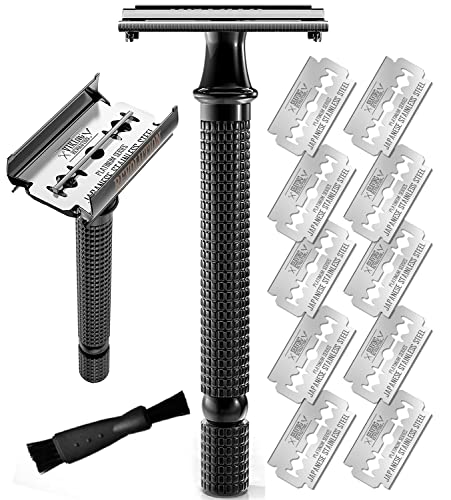
Another way to remove machine embroidery is with disposable or .
On the opposite side of your embroidery, you will see fine bobbin threads. Just run over these stitches with your razor gently several times. The blade will damage these threads, and you’ll be able to pull it away from the front side in no time.
If those understitches are super tight and razor won’t seem to be working well, you might need to get rid of these with an unpicker. Just go slowly and carefully in any case.
Check out the video for more.
Using embroidery stitch remover

Using stitch remover is the fastest way to remove embroidery. Yes, those come at a higher cost than your traditional seam ripper.
But if you deal with “unembroidery” way too often, it might worth the investment (it’s still affordable after all). The one that has the best reputation of all is .
Check out this video for more details on how it works.
How to remove monogramming?
A monogram is usually embroidered with a backing, and the process leaves holes in the shirt.
The only way to find out if the harm is imminent is to cut the embroidery threads of the monogram. Thus you’ll be able to see what’s going on underneath.
If you can remove embroidery threads while other shirt threads are still intact, press the area with iron and see how it looks.
But in 99% of all cases, it will damage the piece. So maybe the effort is not worth the risk.
How to remove embroidery from polyester?
Taking embroidery out of a tight weaved and delicate fabrics like polyester is a bit like tattoo removal. Scarring will be visible no matter how careful you are with the process. So, maybe it makes sense to look for an alternative solution? Maybe sew on a patch over the existing embroidery.
How to remove the embroidered patch?
Even though the removal of the embroidered patch is possible, it doesn’t end well in most cases. The reason is foundational stitches that are added to embroidery under the design (commercial designs add thousands of those stitches!). So there’s always the risk that the fabric under the embroidery will be destroyed.
If you are still determined to give it a try and remove that embroidered patch, start the process by cutting the largest stitches. See if the material underneath will survive the process.
Also, take into consideration the fabric your piece is made of. More delicate weave fabrics and materials like leather will leave holes in 100% of cases. So keep that in mind before proceeding.
Credits: photos by Canva
Disclosure: at sewingyourstyle.com we only write about the products that we’ve researched and considered worthy. But it’s important to mention that we are a participant of several affiliate programs, including Amazon Services LLC Associates Program, an affiliate advertising program designed to provide a mean for us to earn fees by linking to Amazon.com and affiliated sites. As an Amazon Associate sewingyourstyle.com earns from qualifying purchases.