If you’re reading this article, I’m going to take a wild guess that you are arts and craftsperson who is just picking up the skill of stitching. So, while learning it, you probably have come to the point of finishing your work, and it’s time to close the stitch. But how to end a stitch?
Here we will go over some ways to do precisely that, whether manually or with a sewing machine at hand. There are many benefits to picking up sewing/stitching, so hopefully, this article can improve and perfect this skill!
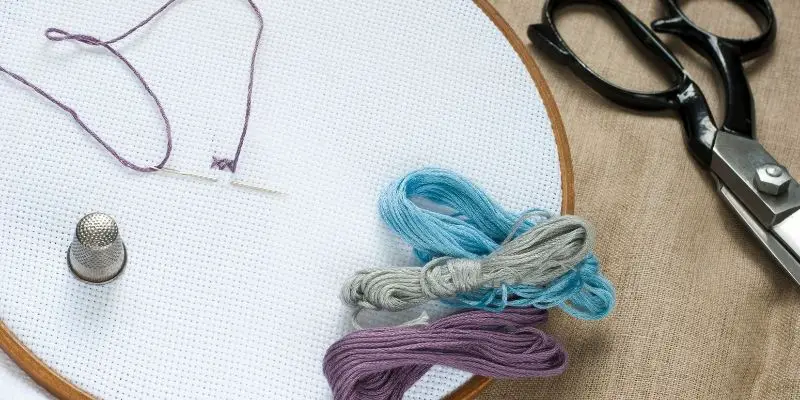
Make sure, of course, that you have the right materials and tools to begin the process and do it properly. A common way to end an embroidery thread is to do with a knot. However, this is NOT the best way on how to finish a stitch and, in fact, will not give the best possible results. So, here are some ways to do it more effectively.
Do you have a particular question about ending the stitch? Then use the table of contents below to jump to the most relevant section. And you can always go back by clicking on the arrow in the right bottom corner of the page. Also, please note that some of the links in this article may be affiliate links. For more details, check the Disclosure section at the bottom of the page.
How to end an embroidery stitch?
As we previously said, the technique where you tie a sewing knot to end a stitch is not the best way. Knots are actually not necessary in any stitching project; they can make the backside untidy and bumpy. It also leaves a bit of a tail which may show through the front side of a project.
So, a simple way to finish a stitch without a knot is to take your thread needle to the back of the fabric and then run your needle under the last few stitches. Make sure you slide it under a couple of stitches closest to the last stitch you just finished. While sliding the thread under other stitches, don’t pull the thread tightly but instead, leave a little loop. Then simply, the last step is to clip the thread.

How to end a stitch using a sewing machine?
Having a sewing machine at hand always makes the creative process faster and easier. But what stays the same is the challenge of the finishing stitch. Place the fabric you are working on under the presser foot. It is vital to align the seam guide on your machine.
Almost every sewing machine will have the reverse button. You need to press this and reverse the motion of the stitch.
You need to make 3-5 backstitches on your fabric. Keep the backstitch shorter. Switch the reverse button back to normal so that the machine starts stitching forward again.
Make sure three lines of thread overlap the end stitch before you stop. After this, you can lift up the needle, slide the fabric out, then cut the remaining threads.
How to end a stitch when hand sewing?
The primary way of ending a stitch has already been mentioned above. But that particular technique is used when you’re stitching a simple line. But of course, not all stitches are that simple and easy. There will be times when you want to stitch a particular figure or image, which requires ending a thread in a covered area.
The way to do this is to hold your last stitch in your hand and slide that needle under the layers you previously laid. Note that this doesn’t have to occur on the back of your fabric.
Next, you can make the same move but in the opposite direction by burying your thread under the stitches once again. And then you can simply snap the thread. Unlike the previous procedure of doing it at the back, you can do this one at the front because you are working with a larger stitching area. You can use this guide to see images of how to do it.
How to end a stitch when knitting?
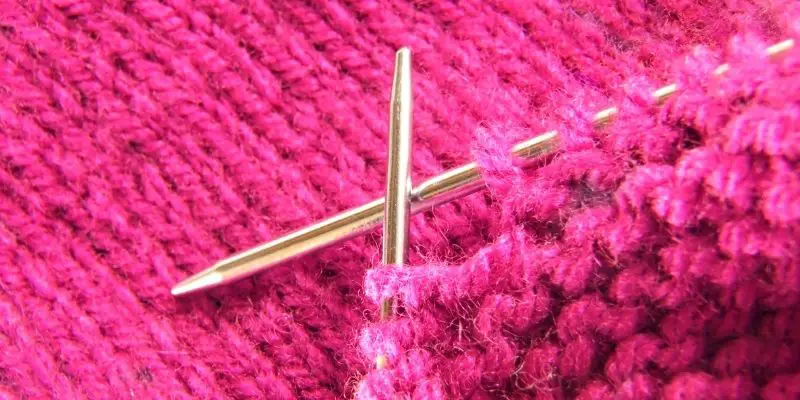
In knitting, the proper term for the task of finishing stitches is a “cast off” or a “bind off.” It’s a neat way to end the stitches. To do this, knit on a new row but only do two stitches and doing them loosely. This way, it can remain stretchy.
Stitch like normal, and when one stitch remains, cut off a 10-inch yarn tail. Wrap that tail around the needle and then pull the stitch over the yarn tail. Pool, they aren’t here to tighten it up, and then voila. It may be difficult to follow, so I recommend reading this article here to get a visual. And that’s the end stitch in knitting!
How to end a running stitch?
Like the first method of doing it, you’re going to turn your fabric over so that the backside is facing you. Any knots you make will be visible on this site. This is good because it’s not the front and will create a better appearance overall from the front. Slide the needle under the nearest stitch and pull in to make a loop.
Repeat this process and tie the thread through another loop to secure the knot better. When it looks tight enough, trim the excess thread, and then you are done! Make sure you have a sharp pair of scissors to make it a clean cut. For a better visual of these instructions, this is the perfect source.
How to end a stitch when doing crochet?
Another activity that deals with creating and designing fabrics is crocheting. Different technique but same problems: finishing knot. Okay, it’s not really a problem. Still, it’s the finishing touch that will ensure your work is near perfect and almost professional. Once you are on your last stitch, you should have one loop left on your hook. Wrap the yarn around the hook and pull the thread through the loop. Pull the remaining yarn further until it is tight.
This will create a knot. Once you get used to this motion and ensure that the crochet is fastened in, you can remove the hook altogether. The art of crocheting may actually be easier as the thread is thicker and easier to control. Just make sure you have enough yarn at the end to finish it, and the rest should be easy. For clearer instructions, come to this guide which will also provide images.
Credits: photos by Canva
Disclosure: at sewingyourstyle.com we only write about the products that we’ve researched and considered worthy. But it’s important to mention that we are a participant of several affiliate programs, including Amazon Services LLC Associates Program, an affiliate advertising program designed to provide a mean for us to earn fees by linking to Amazon.com and affiliated sites. As an Amazon Associate sewingyourstyle.com earns from qualifying purchases.