Adding beads and sequins to your embroidery work is a great way to brighten up the overall look of your craft item and give it that extra glitter that you were looking for. And it doesn’t even cost you much. You have to choose embellishments that complement your embroidery project’s color scheme, and voila, you’re done. However, embroidering with beads demands a little more time and knowledge on the part of the crafter for your embroidery project to turn out as cool as you’d anticipated. In fact, if you don’t know how to embroider with beads, don’t panic; we’ve put together a quick tutorial for you so you can let your work speak for itself.
Do you have a particular question about embroidering with beads? Then use the table of contents below to jump to the most relevant section. And you can always go back by clicking on the arrow in the right bottom corner of the page. Also, please note that some of the links in this article may be affiliate links. For more details, check the Disclosure section at the bottom of the page.
What Is Bead Embroidery?
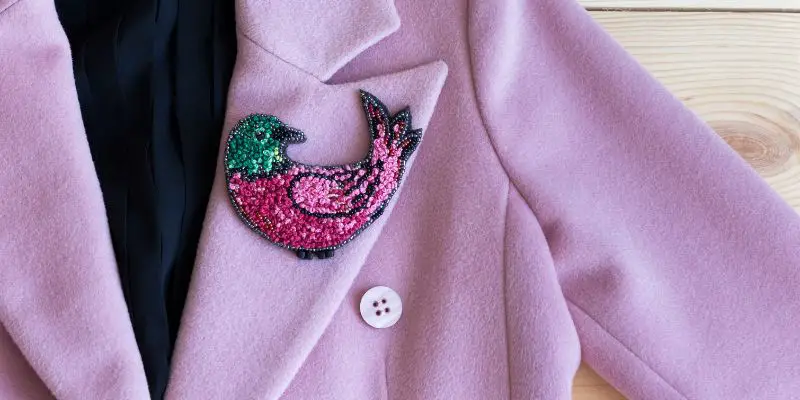
Bead embroidery is the art of creating designs on fabric that you’re currently embroidering on, using colorful beads that match the color scheme of your embroidery. Then, all you need is a needle and thread to stitch the beads onto the fabric’s surface. The style of stitch you’re using will help you fasten the beads to the fabric and keep them secure.
You can use any type of bead for your beaded embroidery project because they come in various sizes, colors, and styles, allowing you to give your craftwork a new and unique dimension.
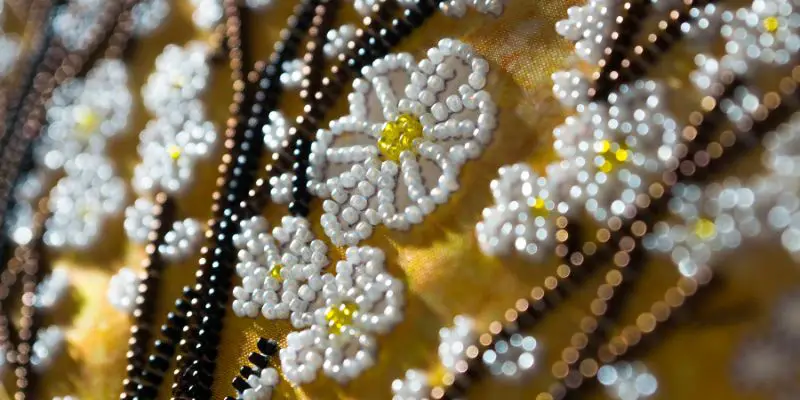
Furthermore, there is no required fabric for beaded embroidery because it can be done on practically any type of garment, thick or thin. However, if you’re beading on thin fabric, you’ll need to use a backing to give your fabric enough support to hold the weight of the beads. Similarly, to avoid any stretching, you’ll need to fit the material you’re working on into an embroidered hoop.
And since beads come in various sizes, the size of the hole varies. Thus you’ll need to choose a needle size accordingly. You’ll need the smallest needle in your set for little beads and vice versa. Similarly, huge beads can be used by passing several strands of thread to help give your embroidery project a polished and enhanced look.
Stuff You Would Need To Do Bead Embroidery With
Following are a few items that you would need for your bead embroidery project:
- Thread
- Needles
- Beads
- Backing
- Scissors
- Fabric
- & Lining
How To Do Beading Embroidery?
If you haven’t done beading embroidery before and have no clue how to bead on fabric, here’s a simple way.
We have chosen the backstitch technique to help you understand how to bead embroidery. First off, choose the beads that you’ll be attaching to your fabric and select a needle size that goes with it. Then, no matter the size of the bead, make sure your needle fits perfectly through it so that you can practice in peace.
Now, take the fabric you’re working or practicing on and fix it in an embroidery hoop. After that, draw a straight line with a fabric marker on your fabric and thread your needle. Make sure you make several knots at the end of the thread so that it won’t run back through the fabric. This is especially important if you’re using small beads since it requires working with delicate threads.
Run three beads through the needle and place them along the drawn line to get an idea of their length. Once having gotten a picture of their basic length, remove them. Then bring your needle up from the bottom of the fabric to the length of the beads you measured in the beginning.
Now pull the needle until the fabric meets the knot you had made earlier. Now pick three beads with your needle and drag them to where it meets the material. Next, bring it back to the beginning of the line you had drawn.
Now bring your needle back up again from the bottom of the fabric to the length of three beads. Next, add three more beads to your needle and drag them to the fabric’s surface before bringing the needle back down to the first row of beads you had made before.
You have beaded six beads into the fabric with the help of two back stitches. Now, It’s time you strengthen the first set of beads. Bring the needle back up in front of the first row, pass through the first three beads, and then bring it back down.
Now repeat the same thing by bringing your needle back up again from the bottom of the fabric to the length of three beads and adding three more beads. Next, get your needle back down and emerge at the point where you started your second row of three beads. Reinforce the beads the same way before running your needle back down into the fabric.
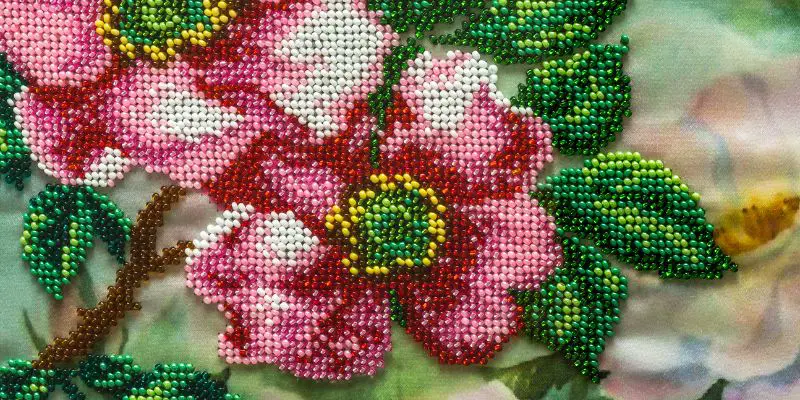
Keep repeating this process until the bead embroidery pattern you had drawn is finished and the beads are tightly secured in place. You can also opt to sew one bead at a time to free yourself from the hassle of securing the beads repeatedly.
Best Stitches to Use with Beaded Needlework
Beadwork embroidery can be done by using the basic embroidery stitches even by the beginners, let alone the pro embroiders. Adding beads to any embroidery stitch is no big deal if you know how to do it properly. I have compiled a list of some basic stitches to help you make your beaded embroidery stitching experience more fun.
- Back Stitch
- Couching Stitch
- Chain Stitch
- Tent Stitch
- Daisy Stitch
- Cross Stitch
- Halo Stitch
- Open Cretan Stitch
- Leaf Stitch
- Fly Stitch
- Extended fly stitch
- Feather Stitch
- Buttonhole Stitch
- Herringbone Stitch
- Laced running Stitch
- Running Stitch
Tips For Improving Your Hand Beading Techniques
To help you ace your embroidery experience with beads patterns, I have compiled a list of some useful tips and tricks that will certainly do the trick for you. So, let’s dig in.
- If you are running three or four beads in one stitch and have a wonky beaded embroidery row, don’t worry. Here’s the trick. Try reinforcing each row of bead embroidery by running your thread through the beads again. The extra thread will make them secure and give them a finished and tightened look.
- The angle at which you hold your needle also affects the overall appearance of your bead embroidery design. If you insert your needle at an angle in the fabric, the beads will either be too far apart or clump up against each other. To avoid this, make sure your needle is perpendicular to the material you’re beading on, at all times. This will help you in keeping your rows of beads aligned.
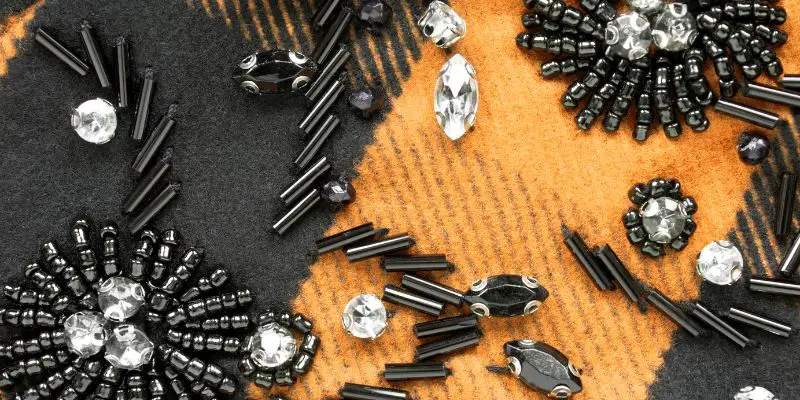
- To achieve the best possible result in your seed bead embroidery project, make sure you use different types, colors, shapes, and styles of seed beads. This will add a new element to each of your bead embroidery projects.
- Make sure you’re using the right size needles and threads for seamless passage through the eyes of the beads. This will save you time and energy, but it will also help the beads stay in place.
- When practicing bead embroidery, always use a colored embroidery medium. You can always contrast the color of your medium with the color of the beads. Thus adding charm to your finished work.
Credits: photos by Canva

Disclosure: at sewingyourstyle.com we only write about the products that we’ve researched and considered worthy. But it’s important to mention that we are a participant of several affiliate programs, including Amazon Services LLC Associates Program, an affiliate advertising program designed to provide a mean for us to earn fees by linking to Amazon.com and affiliated sites. As an Amazon Associate sewingyourstyle.com earns from qualifying purchases.